VPN services offer great features – security, privacy, anonymity, geo-unblocking of content, and more. On Windows, Mac, iOS, Android, and even many Linux systems, they are easy to setup and install – you just download and install the appropriate client or app from your VPN provider of choice. For smart TVs, streaming devices, and game consoles, however, the process is not quite as easy (though still relatively simple).
In this guide, we’ll look at why you might want to use a VPN on your Xbox, along with how to set it up a couple of different ways. There are many VPN services out there, and while we’re not going to go into detail in this guide about how to choose a VPN that’s right for your gaming needs, you can find comprehensive reviews and feature comparisons at bestvpn24.com/gaming-vpn/. Just note in advance that the easiest way to setup a VPN on your Xbox is to use a VPN that offers support for your Wi-Fi router. More on that a bit later.
Why Use a VPN on Xbox?

There are many reasons why you may want to use a VPN on Xbox. While security is a major feature of VPNs, it’s probably not high on the list for Xbox users – there’s minimal personal or financial information on your console that could be compromised. Nevertheless, using a VPN does increase your security and privacy. Your true IP address is hidden from the servers and services you connect to, which helps keep your identify anonymous (which could come in handy against particular nasty online gaming opponents, for example).
The main purposes behind using a VPN on Xbox are to access geo-blocked content, and to potentially improve your ping/latency. With regards to geo-blocked content, many services (including games) are restricted to certain countries based on licensing agreements. These are digitally enforced by comparing IP addresses against a central database, a process known as geolocation. VPN services offer servers in several different countries. Users can connect to these servers, which then use their IP pools to access destination servers. Ultimately, if a user connects to a gaming server through a VPN server located in, say, the UK, even though they are physically located in Canada, the destination server will believe they are in the UK.
At the same time, and though it seems paradoxical, using a VPN on Xbox can actually improve your connection speed. VPNs inherently provide a decrease in overall download and upload speed, and add to your ping time in most cases. The degree to which this occurs depends on the distance between the user and the VPN server, what kind of connection it has to the Internet backbone, the quality of the equipment the server uses, and so forth. However, many VPNs have dedicated gaming servers set up, and the biggest VPN providers have many such servers in their network. It is possible to end up connecting through a VPN server that’s closer and runs faster than the normal path your traffic takes, offsetting any speed loss from the VPN overhead and encryption/decryption process, and even giving you a net positive gain in decreased ping.

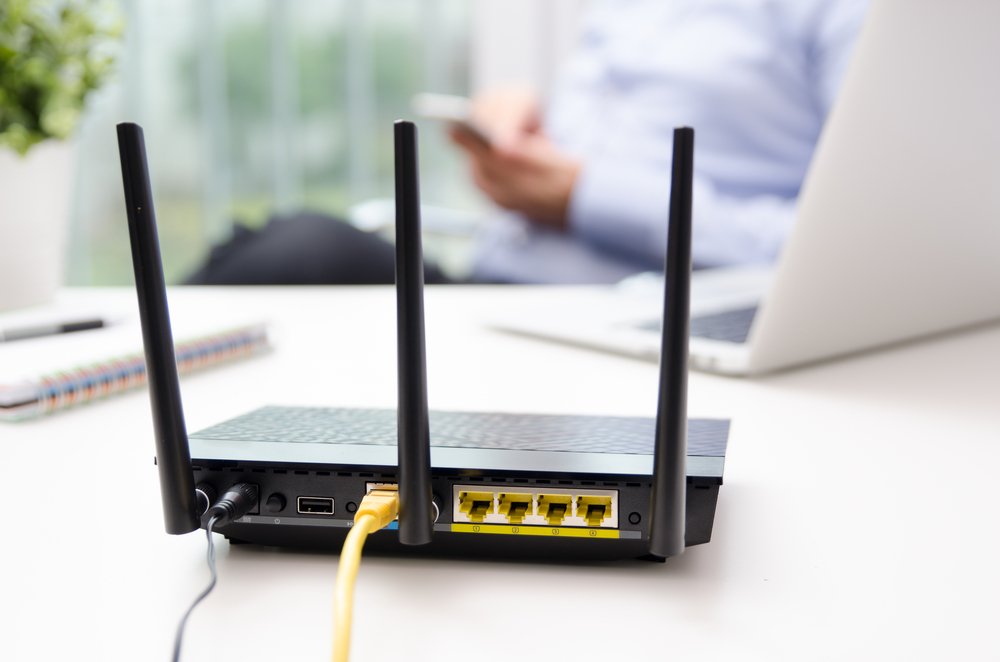
Setting Up Xbox on VPN via Wi-Fi Router
The easiest way to use a VPN on Xbox is to find a provider that supports your Wi-Fi router make and model. This way, your outgoing Xbox connection on your home network automatically will have the benefit of the VPN, by virtue of the VPN being setup on the router. Not all VPN providers support routers, and not all support the same makes and models, so be sure to do some research and checking on their sites before you commit to a subscription.
Typically, this process involves going into your router settings, and adding specific IP addresses and other information, as provided by the VPN service. Since models of routers and each VPN’s procedures and information vary, you should be sure to follow the guide for your particular router and your particular VPN service.
Once a VPN is setup through your Wi-Fi router, there’s nothing else you need to do with your Xbox itself – you’re good to go!
There is technically an even easier way, as some modern routers are coming pre-bundled with various VPN services, with promotions for decreased subscription prices and so forth, you can bypass this whole step entirely. However, this is generally more costly, since you have to buy a new router – and if you already have a router with a VPN service running on it, then you don’t really need to read this article in the first place.
Setting Up Xbox on VPN via Windows
If your chosen VPN service, existing router, or both don’t allow for setting up the VPN through the router, never fear! You can still set your Xbox up on a VPN via Windows or Mac computer – you’ll just need your VPN details, your Xbox, and an Ethernet cable. Then:
- Install the VPN client on your computer.
- Plug an Ethernet cable into the port on your Xbox, and a port on your computer (this pre-supposes you have at least 2 Ethernet ports, or an Ethernet port and otherwise connect to the network via Wi-Fi).
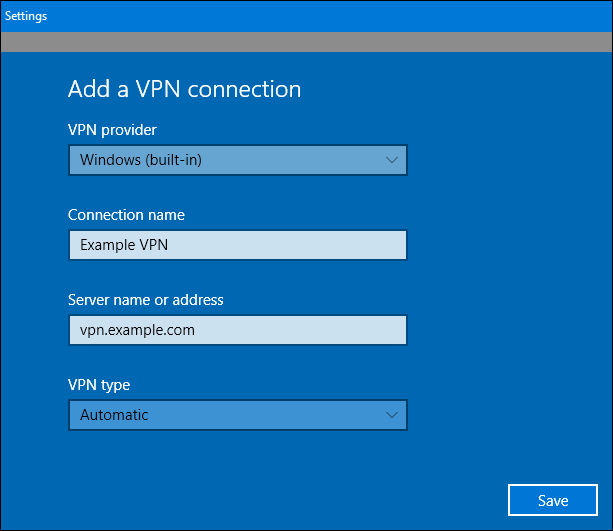
- Navigate to Control Panel, then Network and Sharing Center. Now choose your network adaptor, and the Change Adaptor Settings option.
- On the new screen, find the icon for your installed VPN provider. Right click on it and choose the Properties option.
- Navigate to the Sharing tab, and check the tick-mark next to “Allow other network users to connect through this computer’s internet connection.”
Now, you should be all set to go, with your Xbox using the computer’s Internet connection, through the VPN, to access the Internet. Launch your VPN client, check the Internet connection on your Xbox, and everything should be working great. For long-term purposes, you may want to run a longer Ethernet cable, if you use your Xbox in a different location than your computer.
Setting Up Xbox on VPN via Mac
Setting up Xbox with a VPN service through a Mac is similar to how it is done on Windows computers, though the steps and screens are a bit different. Specifically:
- Install the VPN client on your computer.
- Plug an Ethernet cable into the port on your Xbox, and a port on your computer (this pre-supposes you have at least 2 Ethernet ports, or an Ethernet port and otherwise connect to the network via Wi-Fi).
- Open System Preferences, then Sharing, and choose Internet Sharing from the list.
- From the drop-down menu labeled “Share your connection from,” choose Wi-Fi (if accessing via Wi-Fi), or choose the correct network adaptor.
- On the list labeled “To computers using,” your Ethernet adaptor (the one the Xbox is plugged into) should be selected.
- Select the check box to the left of Internet Sharing to enable the sharing change. A green icon should appear shortly thereafter to indicate success.

Launch your VPN client, connect to a server, and test the Internet connection on your Xbox – you should be good to go!