A lot of people today are looking for careers that are more resilient to economic downturns like the one we’re facing right now. Career switching is hard, but if you don’t have a choice, then it’s a good idea to choose a line of work that will continue to employ you no matter what the state of the economy is. One such career opportunity is a UI/UX designer who prototypes websites and applications for web and mobile. As the world’s economy shifts toward the online experience, this is one industry that will only grow stronger over time.
To help you make the transition to becoming a UI/UX designer, we’ve showcased a tool that you’ll be using on a regular basis – Wondershare Mockitt, one of the most comprehensive online design and prototyping tools that run on the cloud. As we explain various aspects of the software, we’ll also give you some tips for creating prototyping projects to make you a better UI/UX designer as you gain experience with new clients.
At the highest level, Wondershare can be considered to be among the most robust prototyping tools for user interface (UI) and user experience (UX) design. That means it’s a tool that will help you craft the front-end appearance and basic interactive functionality of an application or website before it goes to the product development lifecycle. In other words, it’s a tool to create a working prototype that your clients, your product manager, and other stakeholders can sign off on before developing the actual product.
Mockitt offers a huge list of benefits that include some of the following:
- Clean user interface for a near-zero learning curve, so new users can easily pick up the basics and start designing and prototyping right away.
- Online access from anywhere, which means you can work from home and gradually transition into a full-time on-site position if that’s what you want for your career.
- Large library of assets available, which means you don’t have to hunt around for third-party component libraries when you’re learning how to design and prototype apps and sites.
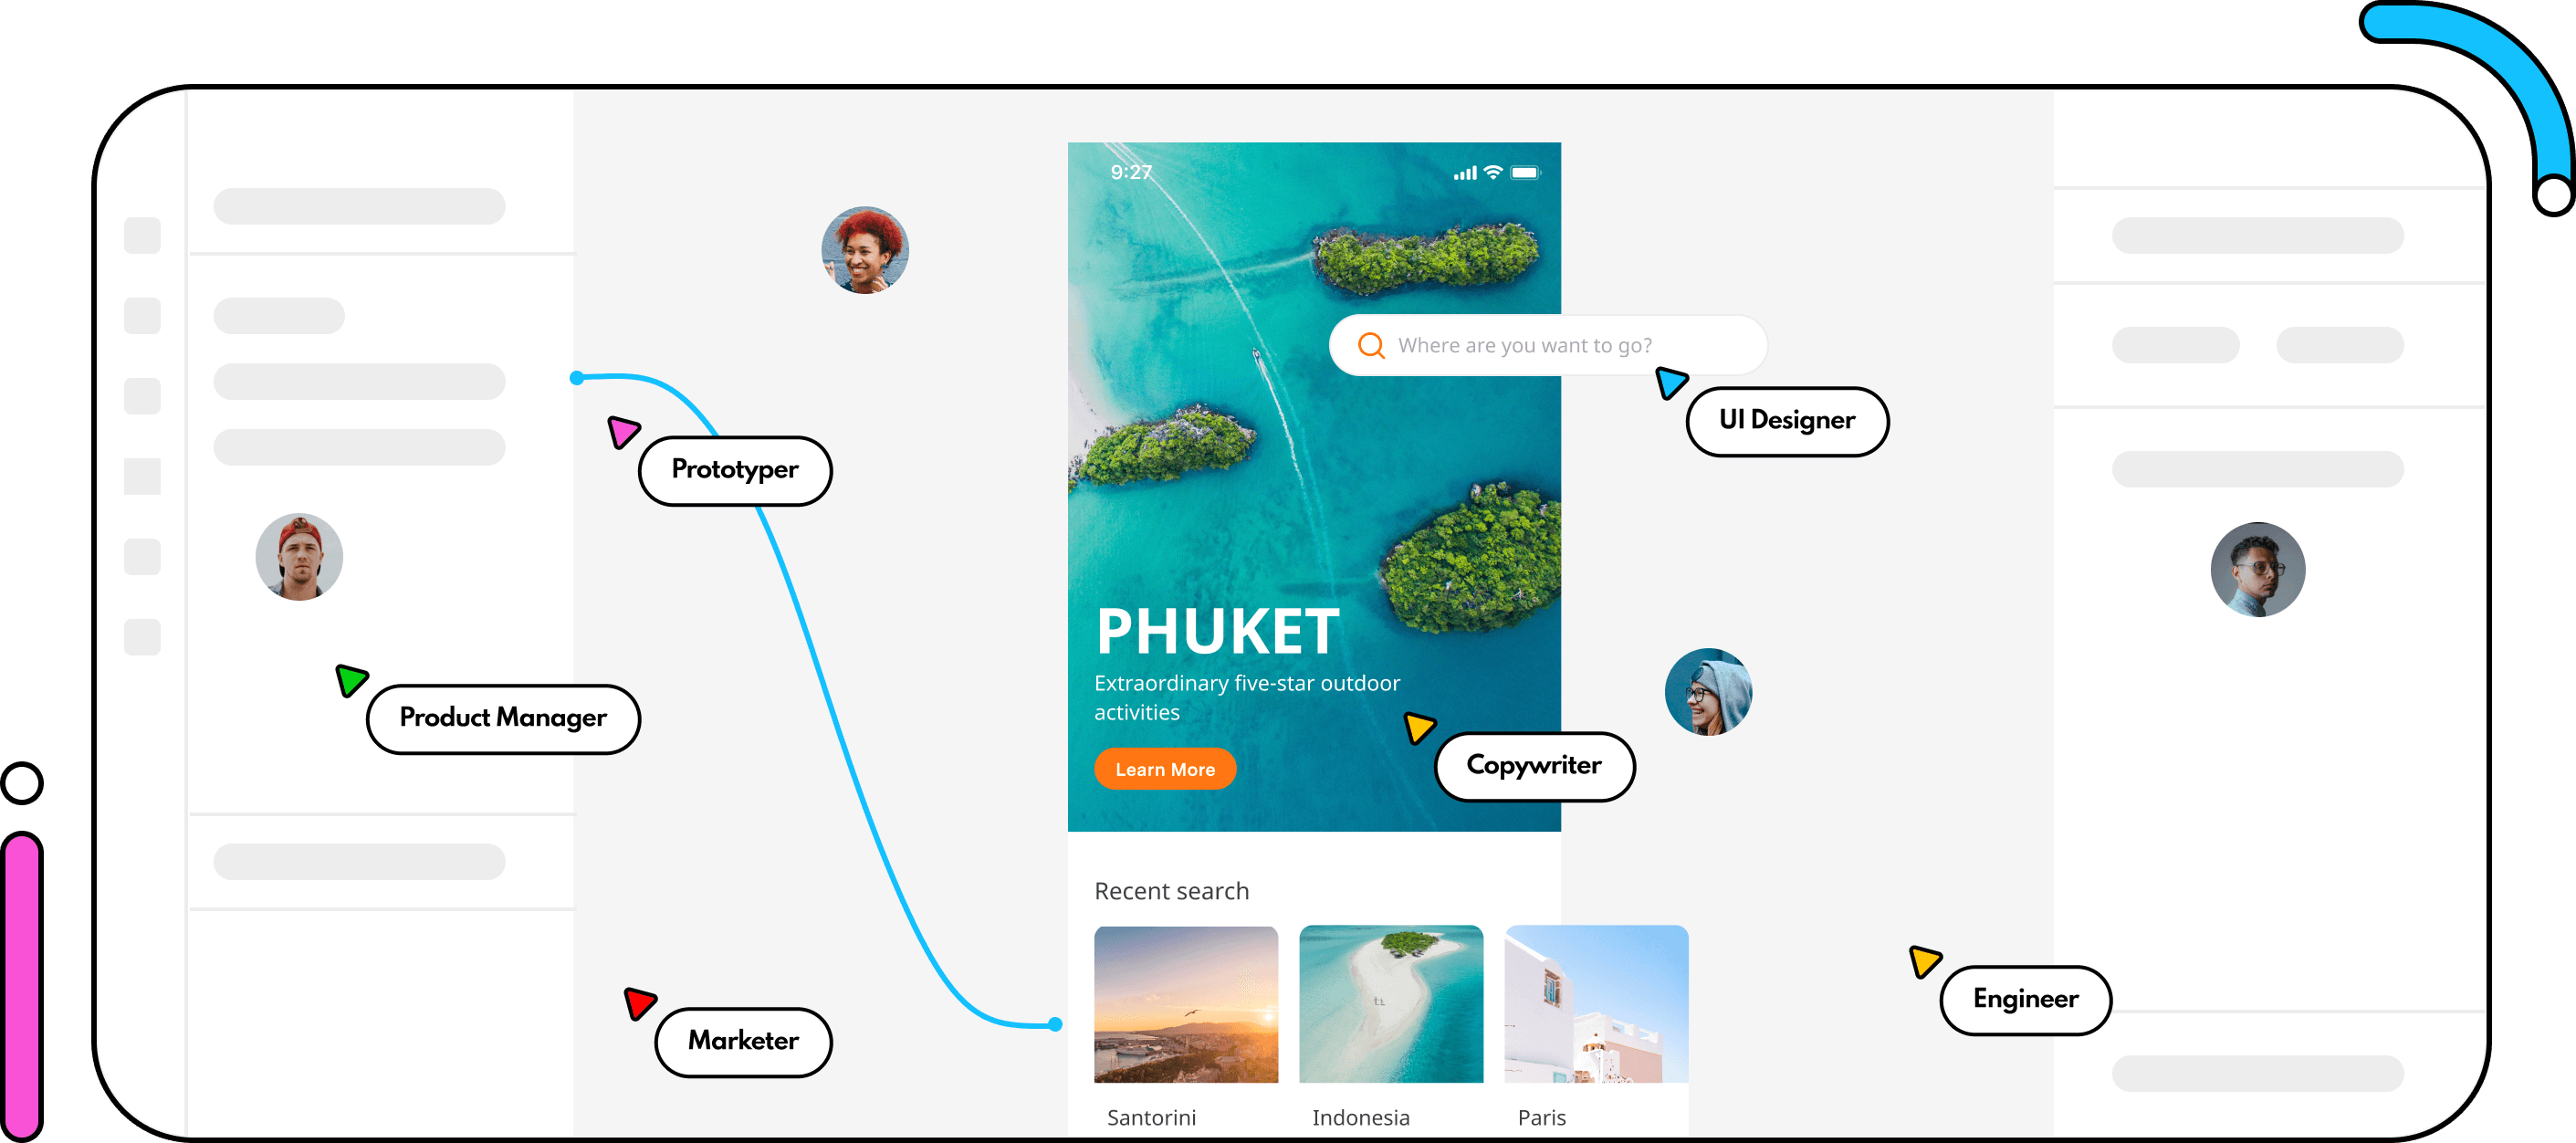
- Offers a collaborative platform so you can have someone from the industry mentor you in real-time as you progress down the path of learning to be a full-fledged UI/UX designer.
- Convenient feedback systems to close the loop on the approval process in a faster manner.
- No coding knowledge required for designers; simply create your design and prototype and the code is automatically generated at the back end.
- Easy handoff process from designer to developer; avoid the usual conflicts that arise when design logic doesn’t match business logic.
You’re probably wondering what makes Wondershare Mockitt such a useful tool for you as you contemplate becoming a UI/UX design professional, right? Well, the answer is simple: Mockitt gives you exactly what you need, and in a manner that’s easy to understand and start using right away. There are several examples of this embedded in the product’s features, as listed below:
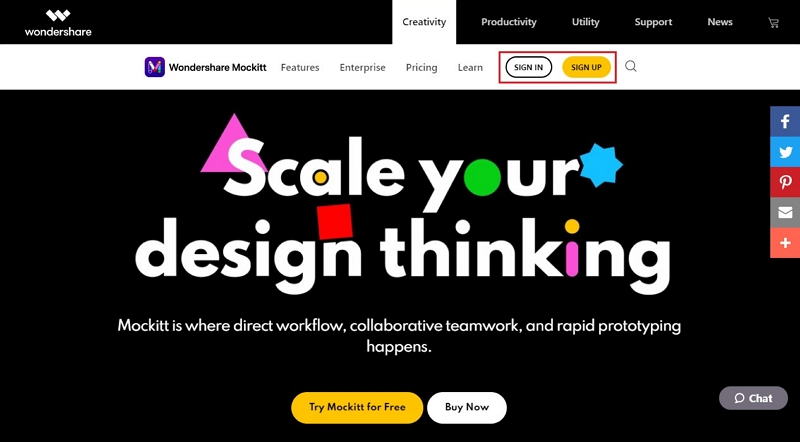
. Quick Registration, Free Plan Available To Try Out The Product:
Right from the beginning, Wondershare Mockitt makes it easy for you to test the product and see for yourself how easy it is to use.
. Design For Various Screen Types:
Mockitt allows you to specify the device type you’re creating the prototype for. You can design for web/TV, mobile, tablet, watch, or any other digital screen configuration.
. Drag And Drop Functionality, Flexible Controls:
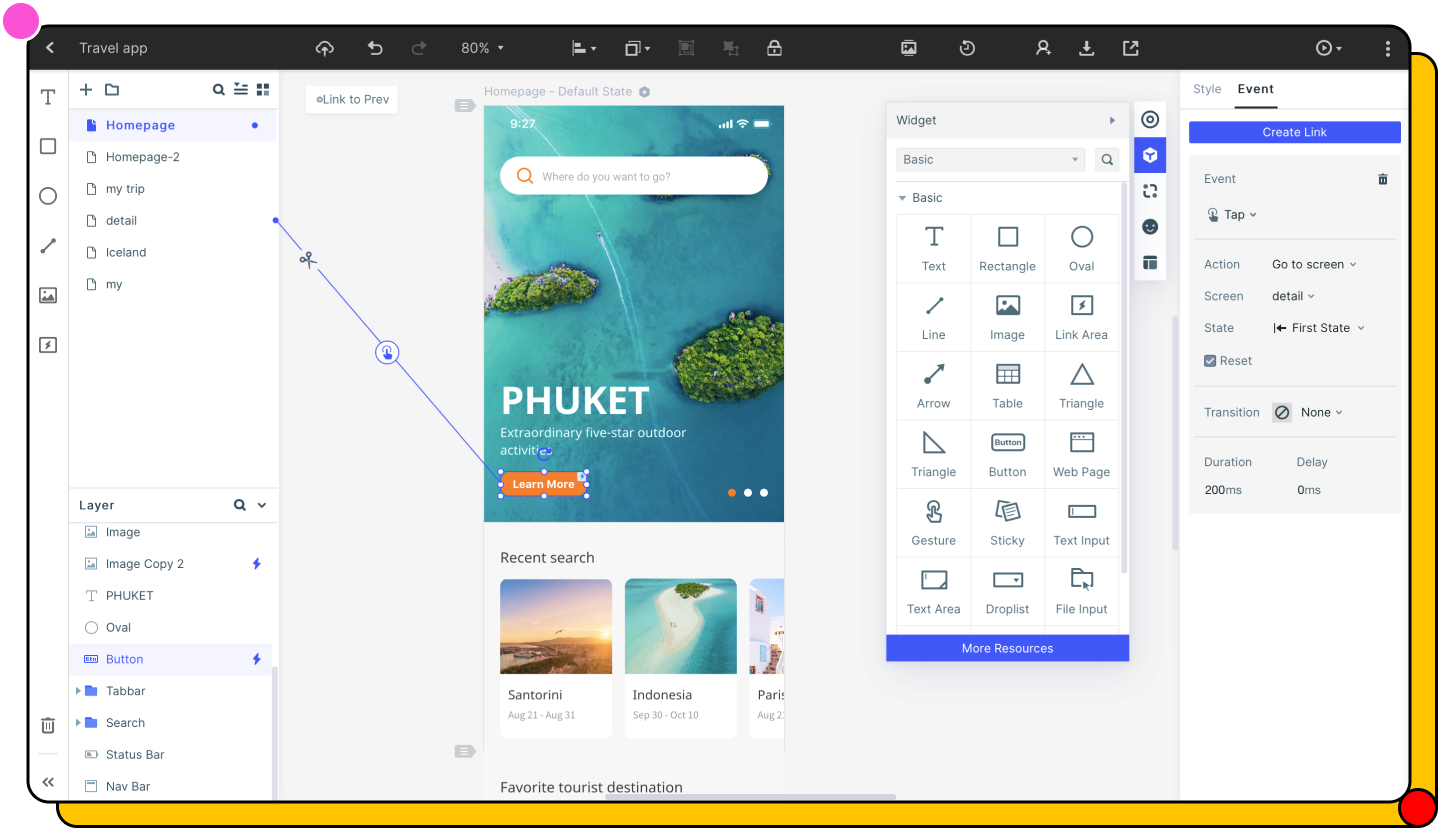
Easily add components and widgets to your screens and artboards with a simple drag and drop or double-click function. In addition, you can use hotkeys and your mouse to draw various elements.
. Extensive Gestures And Transition Effects:
Use links to create interaction between widgets and related pages. Just drag the link, drop it to the target page, and edit the link to add a gesture and a transition, such as animation and other effects.
. Add Notes:
You can quickly add the “Sticky” note widget to explain parts of your design that aren’t clear, making it easier for others to understand the interaction or the purpose or a particular widget.
. Get Fast Feedback:
Sharing your design online is as easy as generating and sending a QR code or URL; specific permissions can be set for greater security.
. Preview Anytime:
Your prototype is always preview-ready; just click the Preview button to see how an interaction or page state will work in the final prototype.
. Auto Code-Gen:
The HTML and style code is automatically generated for iOS, Android, and Web interfaces. It makes the developer handoff much simpler and less stressful.
How to Create Your First UI/UX Design
This is the real meat of the article: a practical guide to creating your first UI/UX design and prototyping it with Wondershare Mockitt. Just follow the steps shown below and you’ll be done in no time.
1. Register an Account and Choose a Plan – or go with the free plan:
The first step is to set up a free account on Wondershare Mockitt, which can be done in a matter of minutes. Once you have set it up, you can choose to proceed with the free plan or choose one that allows more number of projects, screens, collaborators, and cloud storage space.
2. Create Your First Project
To do this, click the Create > Project button and specify the device type and screen resolution. This is important because the layout will change for different resolutions and screen aspect ratios. You can now begin with the design phase
3. Create Your Design
The basic page layout of the first screen can be created by dragging elements from the Quick Widgets panel on the left or the more comprehensive list of library assets on the right. After dropping a widget to the screen, you can edit the size, reposition, and control other attributes in the properties sidebar.
Add new pages to reflect the full functionality of the website or application. Page states can be created easily, and you can even create widget states with Dynamic Widgets. Essentially, these widgets will show multiple states within the same page, so you can show animations and other transitions on a single page.
You can also assign a Master status to a widget. This allows you to make edits to all instances of that widget by editing just one of them, saving you a tremendous amount of time.
4. Prototyping Your Design
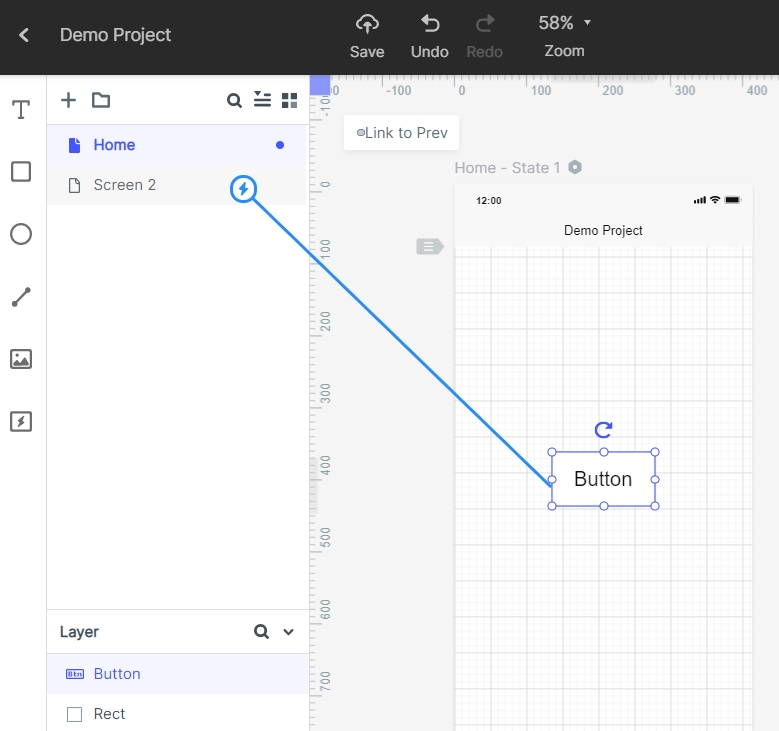
The next stage involves creating interactions between the different elements and pages of your artboards/screens. To do this, first, drag the link next to a widget (you’ll see this on the left side of every widget on your screen) and drop it on the corresponding target page in the navigation pane on the left side of the main screen area.
Once the link is established, go to the Edit Link pane on the right side and add a gesture and a transition or animation effect. Choose from the options available, trying each one until you’re happy with the result. You can use the Preview button to see how it works once you’ve added it.
Similarly, link all the necessary widgets to their respective target pages to create the design logic of your project. Essentially, every interactive element should be linked to its resulting page state or to multiple widget states.
Although you can preview your design at any time, it’s a good idea to do a full review at the end of the process. This is to make sure you haven’t missed anything and that all links have been added as required.
When you’re happy with the prototype, you can use the Share button to generate the share URL or QR code. For offline review, you can download the HTML demo package. This contains the code required to make the prototype behave in an interactive manner with the user.
The final step is the developer handoff, which, as we explained is made easy in Wondershare Mockitt. The developer simply has to log in to their own Mockitt account and access the code inspect section and download the asset code required for their work on developing the product.
Some Final Tips for Potential UI/UX Design and Prototyping Professionals
Since you are just starting out on your journey of becoming a true design pro, it’s important for you to develop some best practices that will serve you well over the course of your new career.
. Keep it Simple:
It’s been said that “simplicity is the highest form of sophistication,” and that’s very true in the world of design. Don’t overthink a process or overcomplicate an interaction. Look at making everything as simple as possible because that’s what users want. That brings us to the next tip…
. Know Your Audience:
Understanding the users who will be using your application or website is of critical importance. It will also make you a better designer because you’ll start thinking about design from the user’s perspective rather than a designer’s angle. How will the user react to this transition? Is this intermediate page state necessary? Can I eliminate some unwanted elements? These are the questions you should constantly be asking yourself.
. Learn From The Pros:
Be a lifelong student, studying the designs of iconic craftsmen and women of design. Keep learning every chance you get and understand that every experience – good or bad – is an opportunity to acquire new knowledge. Specifically, learn from the feedback provided by your product manager and your clients.
. Take Risks:
Some of the greatest web and app designs were initially very risky – until they worked. Be confident in your ability as you grow in this field. However, while it’s okay to take risks, make sure you take small and calculated ones, at least in the beginning.
As prototyping tools go, Wondershare Mockitt is among the best ones out there. As we saw, it’s simple to use, powerful as a learning platform, and comprehensive as a design and prototyping utility. Moreover, the cloud-based model gives you the freedom to work on your designs from multiple devices – at home, at work, on the go, etc. Last but not least, it will allow you to learn at your own pace and get better over time. Eventually, you can look forward to a lucrative and exciting life as a UI/UX designer, commanding higher pay levels as you gain more experience over time.


