In customer relationship management (CRM), the seamless integration of data is a cornerstone of operational success. Salesforce, a leader in CRM solutions, thrives on comprehensive and up-to-date data to unlock its full potential in orchestrating customer interactions, sales strategies, and marketing campaigns. Salesforce CSV import is critical in achieving this integration, enabling businesses to migrate bulk data into the system efficiently.
Thanks to their simplicity and universality, CSV files are ideal for data exchange and migration across different systems. Importing these files into Salesforce means consolidating valuable data, like customer contacts, account details, leads, sales opportunities, etc., into a centralized platform. This process enhances data accessibility and accuracy and empowers businesses to leverage Salesforce’s robust analytics, automation, and customization abilities.
This guide provides users with detailed steps for importing CSV files into Salesforce.
Choosing the Right Salesforce Import Tool

Salesforce provides native Data Import Wizard and Data Loader tools for importing CSV files.
You may use Data Import Wizard when:
- You don’t need to automate the process of data import.
- 50,000 records to load simultaneously is enough for your working processes.
- The Wizard supports the objects you have to import.
You may use Data Loader when:
- Your business processes require custom object support.
- Suppose you need to load up to 5 million records at once, which Data Loader supports.
- You require regular scheduling of large data amounts, e.g., nightly imports, etc.
The table below compares Data Import Wizard and Data Loader features and capabilities in detail.
| Capabilities | Data Import Wizard | Data Loader |
| Admin access | Yes | Yes |
| User access | Yes | No |
| Data export | No | Yes |
| Data loads schedule | No | Yes |
| Data deletion | No | Yes |
| Records support | Up to 50 000 | Up to 5 000 000 |
| Deduplication | Yes | No |
| Import/update custom object | Yes | Yes |
| Import/update Accounts | Yes | Yes |
| Import/update Contacts | Yes | Yes |
| Import/update Leads | Yes | Yes |
| Import/update Personal accounts | Yes | Yes |
| Import/update Campaign Members | Yes | Yes |
| Import/update Opportunities | No | Yes |
| Import/update Cases | No | Yes |
| Import/update/ Solutions | Yes | Yes |
| Toggle Workflow Rules off | Yes | No |
| Validation Rules fire | Yes | Yes |
Of course, both solutions, Data Import Wizard and Data Loader, are powerful and helpful despite their limitations and pitfalls, depending on the user scenarios. Or you can select a simple third-party tool, like Skyvia Salesforce Data Loader.
Preparing CSV Files for Import
Preparing CSV files for import into Salesforce is critical to ensure the data is correctly formatted, clean, and ready for integration. The steps below outline how to do it.
Check Target System Requirements:
- Before formatting your CSV file, check the data fields and formats supported by Salesforce, e.g., the required fields, acceptable data types (string, integer, date formats), and any limitations on record sizes or unique identifiers.
Clean the Data:
- Remove any data columns not needed or not supported by the target system.
- Ensure that all data follows a consistent format, especially dates (DD/MM/YYYY vs. MM/DD/YYYY) and numerics (commas for thousands, periods for decimals).
- Remove any duplicate entries to prevent conflicts during the import process.
Validate and Correct Data:
- Check for typical data entry errors, such as misspelled names or incorrect email formats.
- Identify and fill in missing values, especially required fields, to ensure complete records.
- Ensure that all data matches the expected type for each field (e.g., converting text representations of numbers into numeric data types).
Format the CSV File:
- Ensure column headers exactly match the field names expected by the target system.
- Encapsulate text fields in quotes if they contain commas or other special characters that could be misinterpreted. Save the CSV file with UTF-8 encoding to avoid issues with special characters or international alphabets.
Split Large Files:
- If the target system has limits on the size or number of records per import, split larger CSV files into smaller chunks to comply with these limitations.
Review and Test
- Before performing the final import, review the CSV file for accuracy and completeness. Perform a test import with a small data subset to identify potential issues.
Step-by-Step Import Process
After preparing the data according to Salesforce requirements, start the import process. The steps below show how to do it with Data Import Wizard and Data Loader.
Data Import Wizard
- Access the Data Import Wizard
- Log into your Salesforce account.
- Navigate to the App Launcher (grid icon) and search for “Data Import Wizard.”
- Click on Data Import Wizard to launch the tool.
- Choose the Data to Import
- Once in the Data Import Wizard, you’ll see options for importing different data types. Choose whether you’re importing standard objects (like Accounts, Contacts, and Leads) or custom objects.
- Click on the specific object you wish to import. For standard objects, Salesforce provides predefined options. For custom data, select Custom Objects.
- Upload Your CSV File
- After selecting the data type, Click Choose a CSV file, navigate to your file, select it, and click Next.
- Ensure your CSV headers match the custom field names in Salesforce for custom objects.
- Map Your Data
- Salesforce will attempt to map your CSV columns to Salesforce fields automatically. Review these mappings to ensure accuracy.
- Manually adjust any mappings as needed using the dropdown menus to select the correct Salesforce fields.
- Please pay special attention to the required fields in Salesforce to ensure they are mapped and populated.
- Review and Start Import
- Review your settings. Check the mappings and any options you’ve selected, such as whether to trigger workflow rules.
- Once satisfied, click Next, review your final summary, and click Start Import.
- Salesforce will process your import. Depending on the size of your data, this may take some time.
- Monitor and Review the Import Process
- Upon completion, Salesforce will email you a summary of the import, including any records that failed to import and why.
- Use this summary to address any issues. You may need to adjust your data and re-import if necessary.
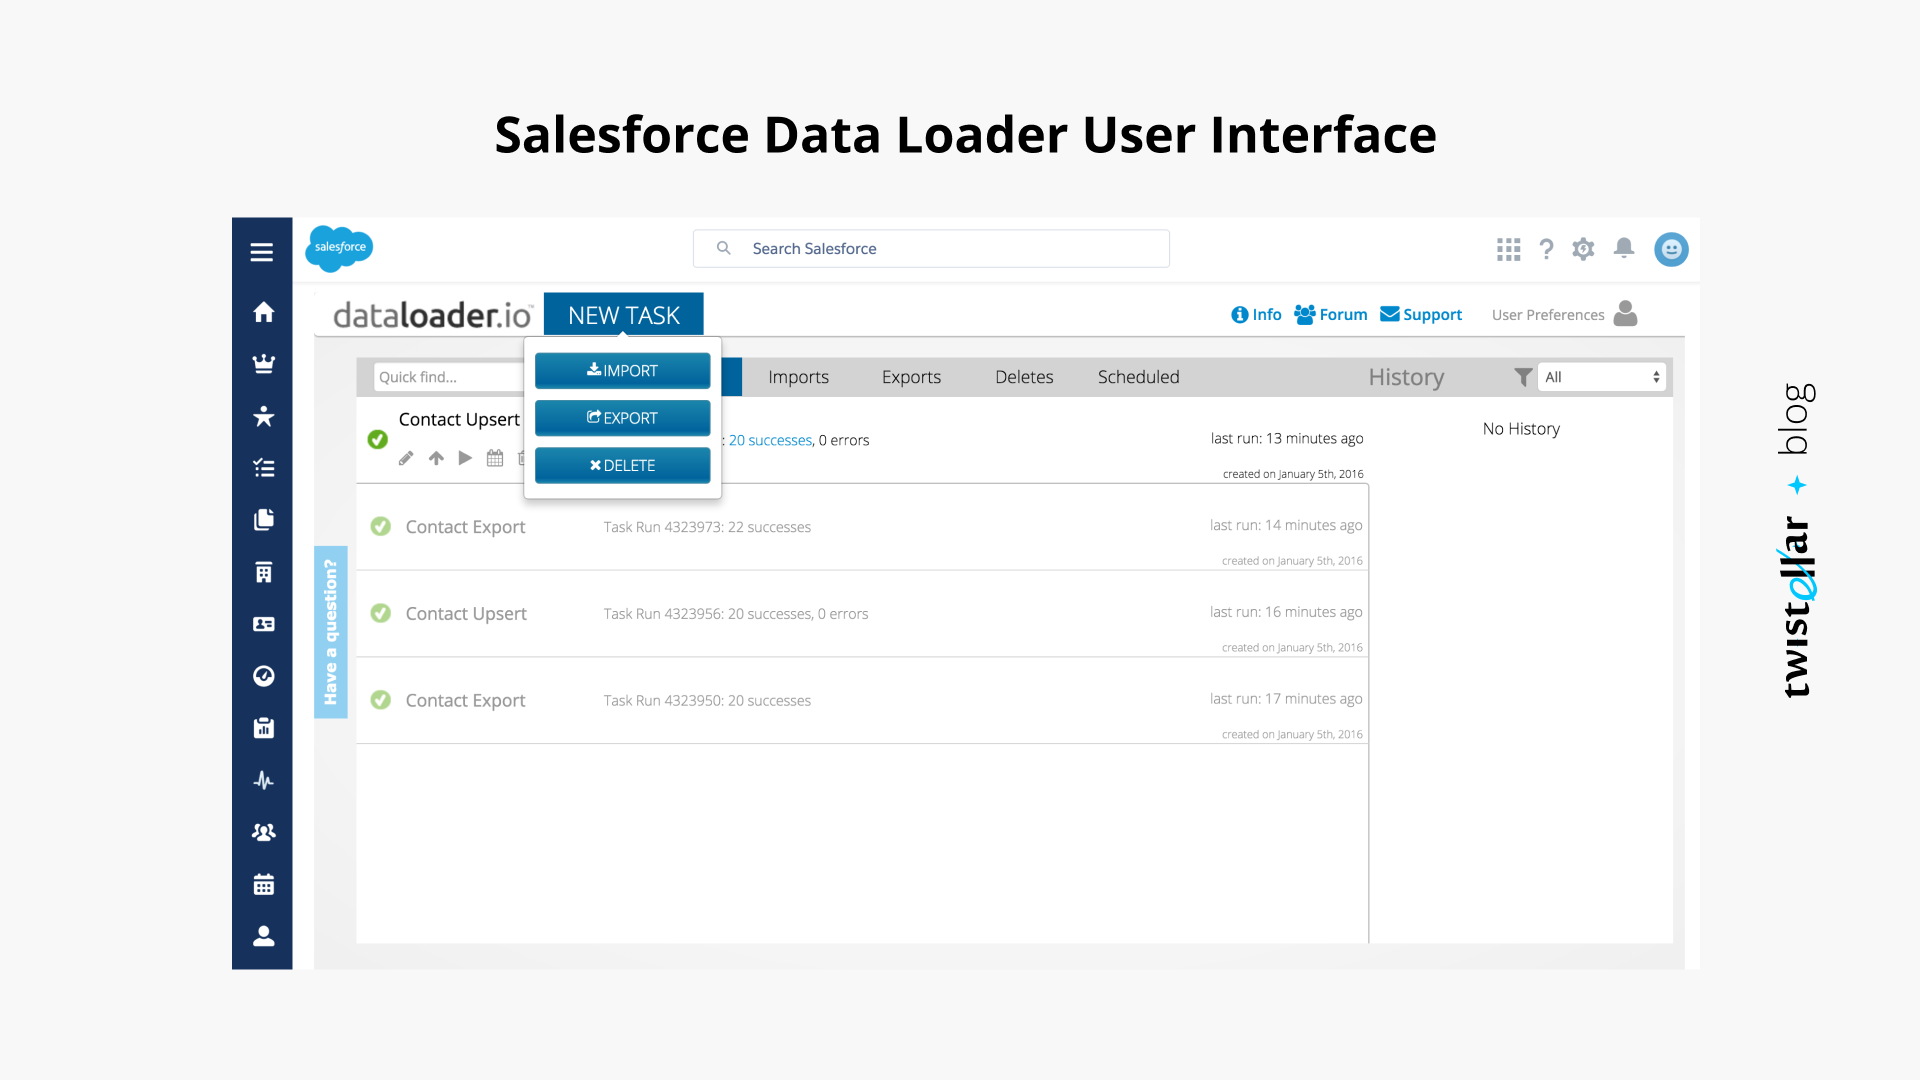
Data Loader
- Download and Install Data Loader
- If not already installed, download the Data Loader from Salesforce Setup. Navigate to Setup, enter “Data Loader” in the Quick Find box, and select Data Loader. Then, download and install it on your computer.
- Launch Data Loader and Log In
- Open the Data Loader application.
- Log in using your Salesforce credentials. If connecting to a sandbox, change the login URL to the sandbox URL.
- Choose Your Operation
- Select the type of operation you wish to perform (Insert, Update, Upsert, Delete, or Export). For importing new records, choose “Insert”; to update existing records, select “Update” or “Upsert.”
- Select the Object
- Choose the Salesforce object (standard or custom) you want to import data into. If it’s a custom object, it will usually have “__c” at the end of its name.
- Upload the CSV File
- Click “Browse” to find and select your prepared CSV file on your computer.
- Map the Fields
- Data Loader will attempt to auto-match the CSV column headers to the Salesforce field names. Review the mappings to ensure accuracy.
- Manually map any fields that weren’t automatically matched by clicking Create or Edit a Map and then Auto-Match Fields to Columns or manually dragging the fields to match.
- Save your field mappings for future use if this is recurring.
- Perform the Import
- Once the fields are mapped correctly, proceed with the import by clicking Next and Finish. Data Loader will begin importing your records into Salesforce.
- Monitor the progress. Data Loader will display the import status, including successful imports and errors.
- Review the Operation
- After the import is complete, review the success and error logs generated by the Data Loader. These files are crucial for understanding which records were imported successfully and which failed (and why).
- For any records that failed to import, make the necessary corrections in your CSV file and repeat the import process for those records.
- Post-Import Cleanup
- Verify the imported data in Salesforce to ensure everything looks correct.
- Perform any necessary cleanup in Salesforce if there are duplicate records or additional adjustments needed.
Conclusion
By mastering the art of importing CSV files into Salesforce, companies reduce manual data entry errors, save time, and ensure that their Salesforce environment reflects the most current and comprehensive view of their business operations and customer relationships. Ultimately, successfully importing CSV files into Salesforce enables data-driven decision-making, optimizing customer engagement and driving business growth.