Piso Wi-Fi has become a popular trend in the Philippines, drawing attention from many users. Despite its growing popularity, people still have questions about how it functions and need quick answers. This manual will walk you through the key aspects of setting up and managing Piso Wi-Fi with ease. It also includes a step-by-step process for activating the pause time feature. Let’s start with the fundamentals!
[lwptoc numeration=”none”]
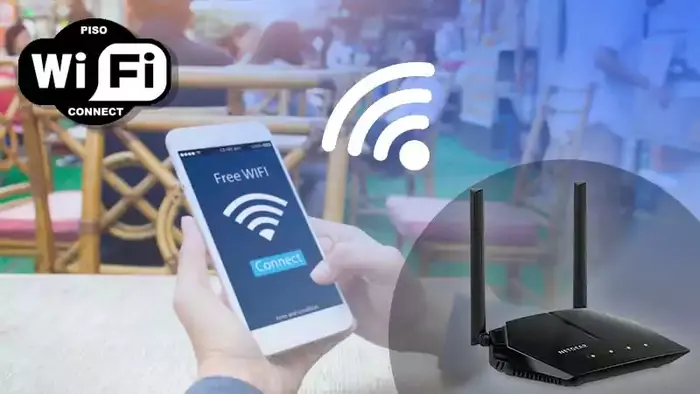
What is Piso Wi-Fi?
Piso Wi-Fi combines “Piso,” meaning one peso in the Philippines, and “Wi-Fi,” meaning wireless internet. It is a coin-operated system that provides internet access for a set time. Launched in 2017, it was designed as an affordable alternative to costly internet plans. Users can connect by paying with coins or electronically for instant access.
Installing Piso Wi-Fi Pause Time
You can enable the pause time feature on Piso Wi-FI by accessing the admin panel through the default gateway. You have to complete the login process and enable the feature in the general settings menu on your smart device.
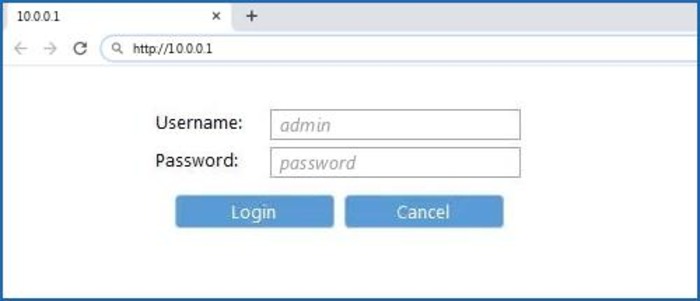
Default Gateway Address For Piso Wi-Fi
The default gateway address of the Piso Wi-Fi is 10.0.0.1. You can use it to visit the webpage and configure the settings of the Piso Wi-Fi. You can access the admin page through this default gateway on the browser of your device and login with the correct credentials to access all the settings. Moreover, here’s a detailed guide on 10.0.0.1 admin login.
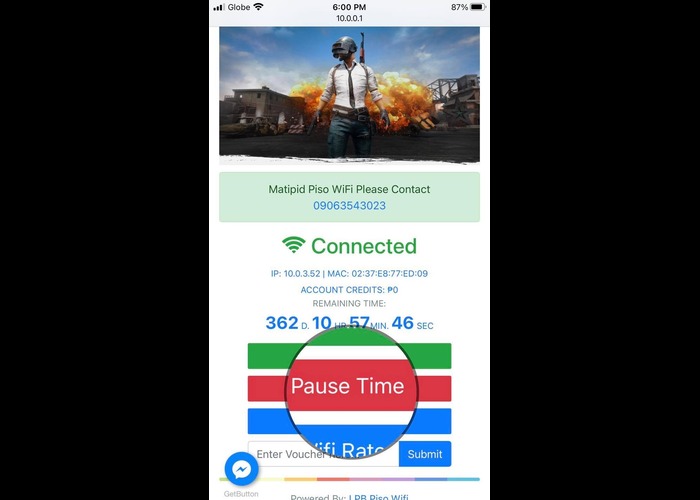
How Can I Set Piso Wi-Fi pause time?
Here are the easy steps to set the Pause time feature in the Piso Wi-Fi.
- Click here to open the admin panel of the Piso Wi-Fi.
- Now, enter your credentials to access the dashboard.
- Now go to the general settings menu and enable the pause time feature. Here you can also enable the auto mode through the Auto Pause Time on Boot option.
- Now, again, visit the admin panel. You will see the pause time option on the screen.
- All done.
Checking if You Have Paused Time On Piso Wi-Fi
Open the admin web portal and check for the pause time feature on the screen. If you are unable to find it, then you have to enable it by using the above-mentioned steps.
How to Download the Piso Wi-Fi Pause Time App?
You will get a plethora of apps on the Google Play Store, like PisoWIFI Manager, PisoWIFI, etc., to enable the Pause time feature on the Piso Wi-Fi. However, the manual method through the web portal is pretty easy. You will get all the steps in the above section of the article.
How Can I Access Piso Wi-Fi?
Here are the easy steps to access the Piso Wi-Fi.
- The first and foremost thing is to open the browser on your smart device that you wish to connect to the internet or Piso Wi-Fi.
- Now, you have to access the home page. Click here to visit the homepage directly. You can also use the 10.0.0.1 address and go to the homepage.
- You will see a login page where you have to fill in the correct credentials to access the Wi-FI. The default password of the network is admin.
How to Do the Piso Wi-Fi Registration?
Here are the easy steps to complete the Piso Wi-Fi registration.
- First, you have to locate the Piso Wi-Fi vending machine that offers hotspots to connect to the network.
- When you find a suitable machine, connect your device to the network. When you are connected successfully, you will go to the web portal of the network automatically. Besides this, you can download an app to log in and manage all the things on the network.
- Now, you have to pay for the network to get the credentials. You can pay with coins if there is a feature to accept the coins on the machine, or you can use digital modes to complete the payment.
- Use the credentials to sign in and know about the time limit for which you can access the internet through Piso Wi-Fi.
- All done, now you can browse the internet on your smart device.
Why Is Your Device Unable To Connect To The 10.0.0.0.1 Piso Wi-Fi Time?
Here are some of the common reasons that can hinder your device from connecting to the Piso Wi-Fi.
Password mismatch
Incorrect password or password mismatch is one of the common reasons that can interrupt your connection. If you have changed the password of your Piso Wi-Fi, then make sure that you are using your new password to complete the login process. Also, double-check all the characters of the password while filing the password during the login process.
Wrong IP address
Sometimes, you can fill in the wrong IP address, which can cause issues. The correct address is 10.0.0.1, which you have to use to access the Piso Wi-Fi web portal. There are four terms in the address so fill the IP address correctly.
Ensure Proper Connection
Make sure you are within range of the Piso Wi-Fi network and that your device’s Wi-Fi is turned on. Check if other devices can connect to the network.
Restart Your Device
Sometimes, simply restarting your computer, smartphone, or other devices can resolve connectivity issues.
Contact Piso Wi-Fi Support
If you are still unable to connect, consider reaching out to the support provided by the Piso Wi-Fi service. They may be able to assist you with specific issues related to their service.
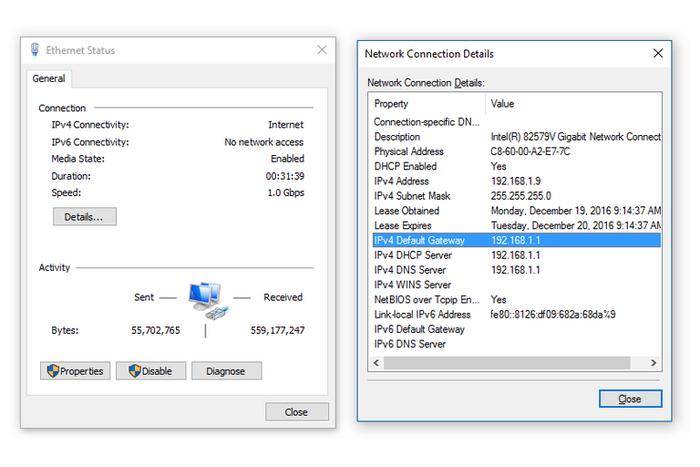
How To Change The Password Of The 10.0.01 Piso Wi-Fi?
Here are the easy steps to change the password.
- Visit the page with the mentioned address on your browser.
- Address/URL: 192.168.1.1
- Now, you have to log in to access the router interface.
- Here, you have to enter the new password under the Password section that you get in the Administration or Management section.
- Click on the Save button to save all the changes.
- All done.
What Are The Benefits Of The 10.0.0.1 Piso Wi-Fi Pause Time Machine For Their Users?
Accessibility
Piso Wi-Fi machines offer internet access in public areas, helping users in places with limited connectivity.
Affordability
Users can pay in small amounts, making internet access more affordable without a full subscription.
No Long-Term Commitment
Piso Wi-Fi lets users pay only for the time they need, avoiding long-term commitments.
Convenience in Public Spaces
Piso Wi-Fi machines in public areas offer internet access on the go.