Are you tired of poor audio quality in your action camera footage? Look no further! This comprehensive guide will walk you through the world of action camera microphone attachments, helping you boost your audio quality and enhance your overall recording experience. From types of microphone attachments to the best products on the market, we’ve got you covered. So, let’s dive in!
Why Use an External Microphone Attachment for Your Action Camera?
While action cameras are known for capturing stunning visuals, their built-in microphones often leave much to be desired in terms of audio quality. Wind noise, handling noise, and limited audio range can all detract from your videos. By using an external microphone attachment, you can significantly improve the sound quality, making your videos more professional and enjoyable to watch.
Types of Action Camera Microphone Attachments
There are three main types of microphone attachments for action cameras:
Shotgun Microphones
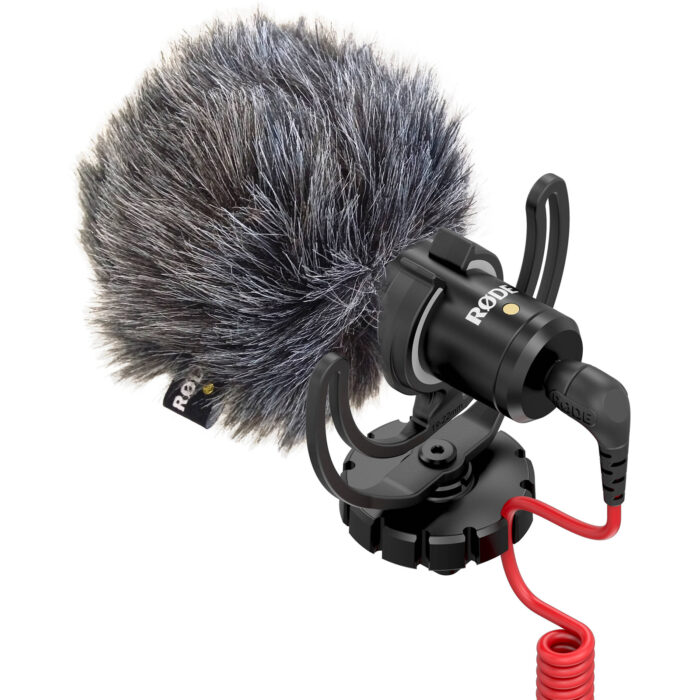
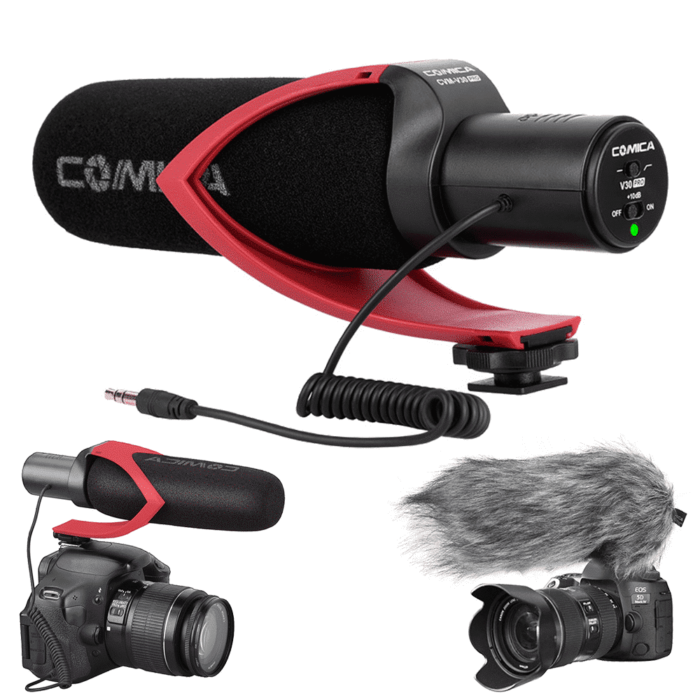
Shotgun microphones are directional, meaning they pick up sound from a specific direction. They are great for capturing clear audio in noisy environments. Examples include the Rode VideoMicro and Sennheiser MKE 400.
Lavalier Microphones
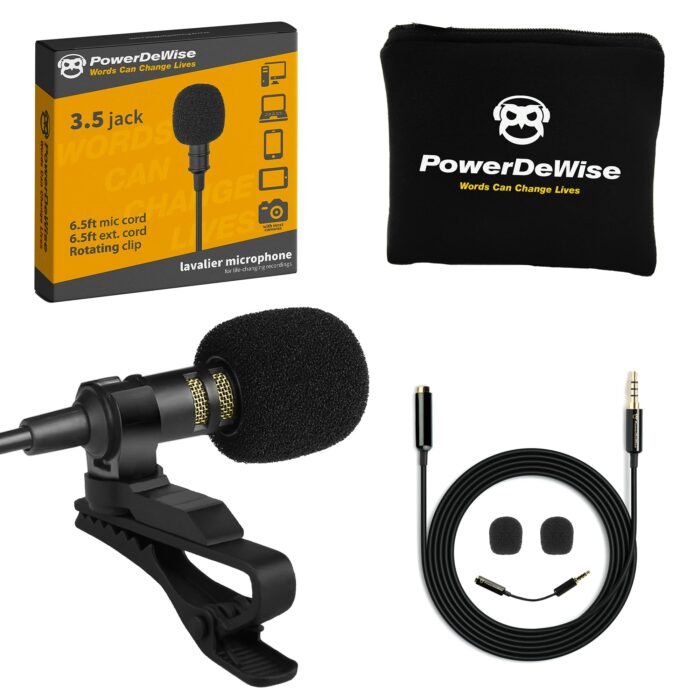
Lavalier microphones, also known as lapel or clip-on mics, are small and discreet. They attach to a subject’s clothing, capturing high-quality audio directly from the source. Examples include the Rode SmartLav+ and PowerDeWise Professional Lav Mic.
Wireless Microphone Systems
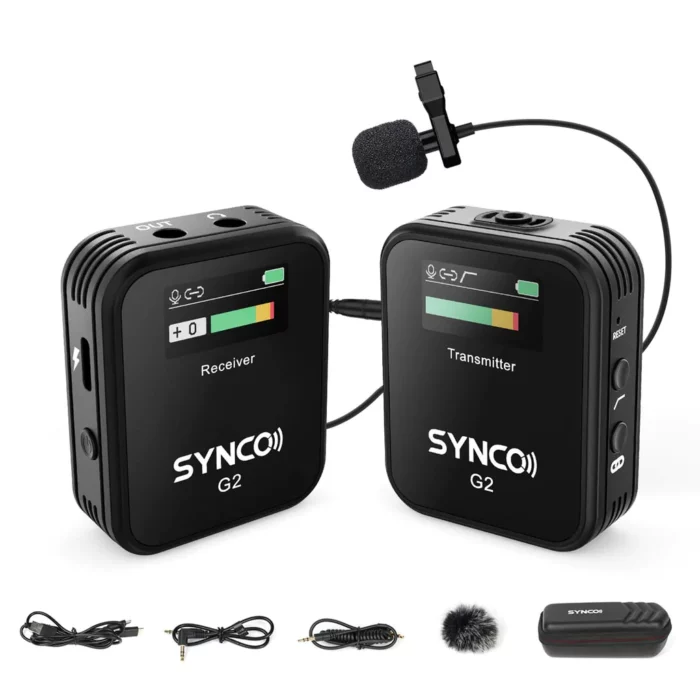
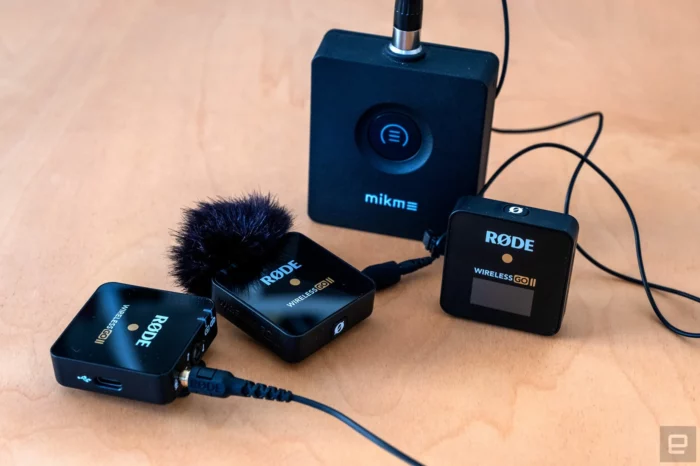
Wireless microphone systems provide flexibility and convenience by eliminating the need for cables. They consist of a transmitter, receiver, and microphone. Examples include the Rode Wireless GO II and Synco Audio G2-A1 Digital Wireless Microphone System.
Read: battery light comes on then goes off when accelerating
Compatibility and Adapters
Before purchasing a microphone attachment, ensure it is compatible with your action camera. Some cameras require specific adapters to connect external microphones. For example, GoPro cameras need a GoPro Pro 3
Step-by-Step Guide for Choosing and Using Action Camera Microphone Attachments
In this section, we will provide a step-by-step guide for choosing and using action camera microphone attachments. This will help make it easier for tech noobs to understand the process and find the perfect solution for their needs.
Step 1: Determine Your Microphone Needs. Before purchasing an action camera microphone attachment, it’s essential to determine your specific needs. Are you looking for better audio quality during outdoor activities or recording interviews and podcasts? The type of microphone attachment you choose will depend on your requirements.
Check Out: Destinycard.com Activate: Your Ultimate Step by Step Guide to Card Activation
Step 2: Choose the Type of Microphone Attachment. There are various types of microphone attachments available for action cameras, including shotgun, lavalier, and omnidirectional microphones. Each type has its advantages and disadvantages, so it’s crucial to choose the one that best fits your needs.
- Shotgun microphones: These microphones are designed for capturing directional audio, making them perfect for outdoor activities where you want to record specific sounds while minimizing background noise.
- Lavalier microphones: These small, clip-on microphones are ideal for interviews and podcasts, as they can be attached directly to the subject, ensuring clear and consistent audio quality.
- Omnidirectional microphones: These microphones capture sound from all directions, making them suitable for recording in noisy environments or when capturing audio from multiple sources.
Step 3: Research and Compare Microphone Attachments. Once you have determined your microphone needs and the type of microphone attachment you require, research different brands and models to find the best fit for your action camera. Some popular options include:
- Rode VideoMicro
- BY-BM2040
- Movo VXR10 Universal Video Microphone
- Saramonic SR-XM1 Mini Vlog Microphone
- Comica CVM-V30 PRO Camera Microphone
Read reviews, watch videos, and compare features to make an informed decision.
Step 4: Check Compatibility with Your Action Camera. Before purchasing a microphone attachment, ensure that it is compatible with your action camera model. Some microphones are designed explicitly for specific camera models, while others may require an adapter to connect. Check the manufacturer’s website or product specifications to verify compatibility.
Step 5: Purchase the Microphone Attachment and Required Accessories. After selecting the perfect microphone attachment, purchase it along with any required accessories, such as adapters or extension cables. Make sure to double-check that you have everything you need for a smooth setup and recording experience.
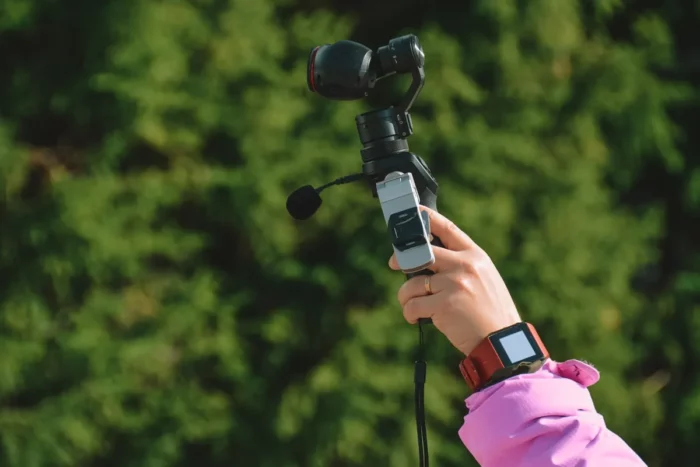
Step 6: Set Up the Microphone Attachment. Once you have your microphone attachment and accessories, follow the manufacturer’s instructions to set up and connect the microphone to your action camera. This may include attaching the microphone to the camera, connecting cables or adapters, and adjusting settings on your action camera.
Step 7: Test the Microphone Attachment. Before using the microphone attachment for important recordings, test it to ensure it is functioning correctly and providing the desired audio quality. Record a test video in the environment where you plan to use the microphone attachment and review the audio quality. Make any necessary adjustments to the microphone placement, camera settings, or recording environment to optimize the audio.
Step 8: Use the Microphone Attachment in Your Recordings
Now that you have successfully set up and tested your microphone attachment, you can begin using it in your recordings. Whether you’re capturing outdoor adventures, interviews, or podcasts, the improved audio quality will enhance your content and make it more enjoyable for your audience.
Step 9: Proper Care and Maintenance of Your Microphone Attachment
To ensure the longevity of your microphone attachment, it’s essential to take proper care of it. Keep the microphone clean and free of dust, moisture, and debris. When not in use, store it in a protective case or pouch to prevent damage. Periodically check cables and connectors for wear and replace them as needed.
Conclusion
Incorporating a microphone attachment into your action camera setup can significantly improve audio quality, making your content more professional and enjoyable to watch. By following this step-by-step guide, you can choose the right microphone attachment, set it up correctly, and ensure that it lasts for many recording sessions to come. Happy recording!

