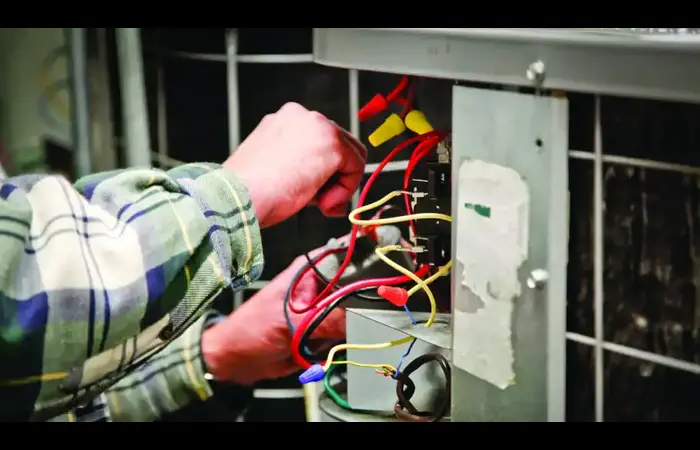
Delays with Nest thermostats can be annoying for users who depend on them to keep their homes at the right temperature. This manual offers clear steps to resolve these issues and help your thermostat work efficiently.
Focus on fixing the problem. Ensure your device runs smoothly. Follow the instructions carefully. Keep your home comfortable without unnecessary delays.
Understanding the C-Wire
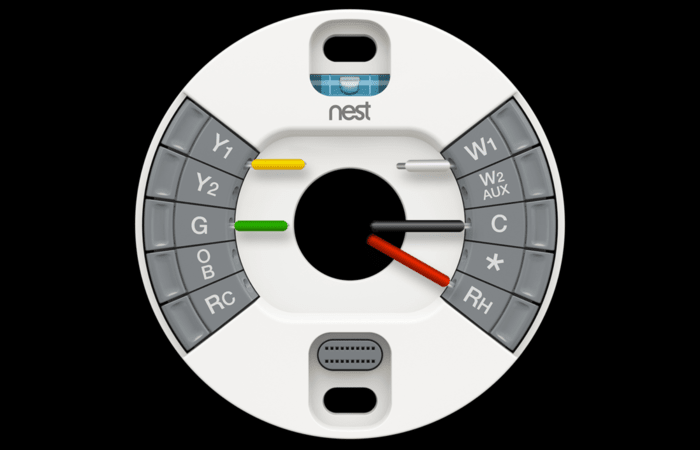
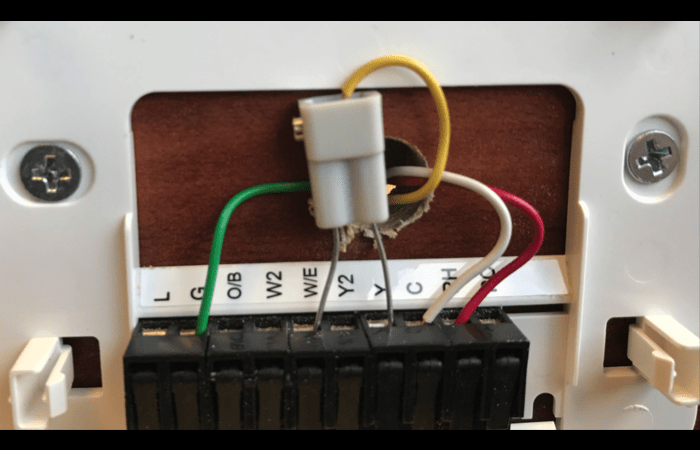
A common cause of Nest thermostat delays is the absence of a C-wire, also known as the “common wire.” The C-wire provides a continuous power flow to your thermostat, ensuring it remains connected and functioning correctly. Many older homes do not have a C-wire installed, which can lead to power cycling issues and reduced battery life for your Nest thermostat. If you suspect a lack of a C-wire is causing your thermostat delays, consider installing one to improve your device’s performance.
Installing a C-Wire
To install a C-wire yourself, follow these steps:
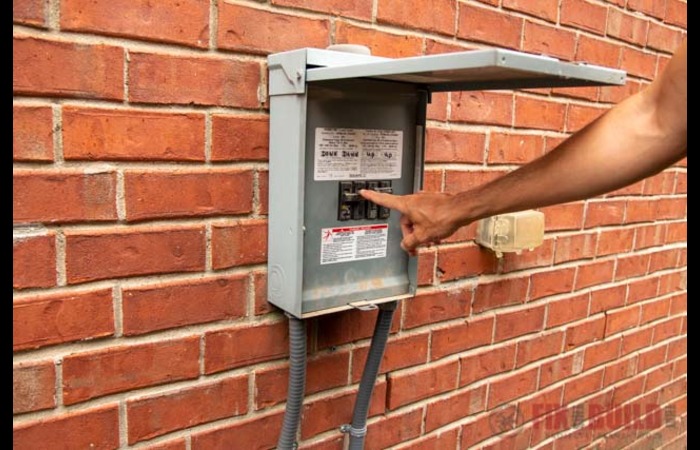
Turn off the power to your HVAC system.
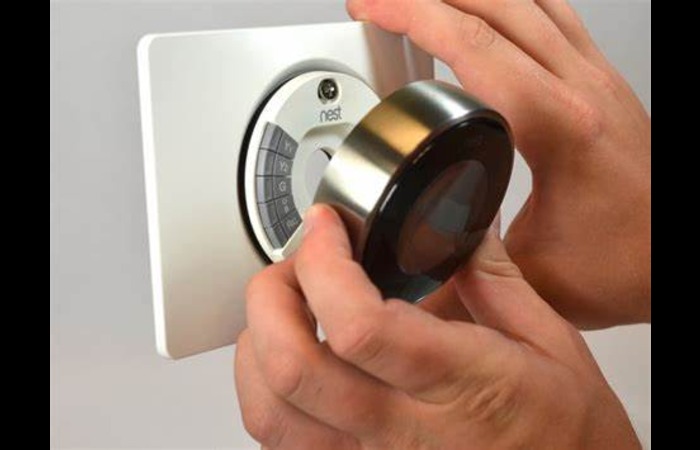
Open your thermostat’s faceplate to access the wiring.
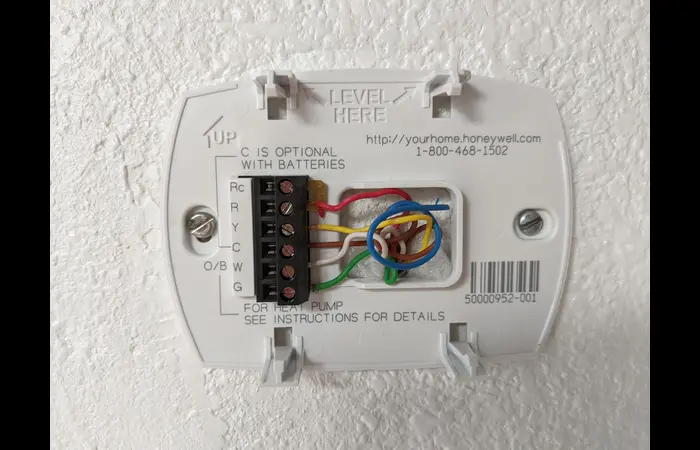
Check if you have an unused wire that can be repurposed as a C-wire.
Connect the new wire to the C-terminal on your thermostat and HVAC system.
Turn the power back on and test your thermostat.
If you are uncomfortable working with wiring, consider hiring a professional to install a C-wire.
Using a C-Wire Adapter
You can use a C-wire adapter to power your thermostat if you do not have an unused wire. To install a C-wire adapter:
Turn off the power to your HVAC system.
Connect the C-wire adapter to your HVAC system and thermostat according to the manufacturer’s instructions.
Turn the power back on and test your thermostat.
Repurposing the G-Wire
If you do not have an unused wire or a C-wire adapter, you can repurpose the G-wire (fan wire) as a C-wire. To do this:
Turn off the power to your HVAC system.
Open your thermostat’s faceplate to access the wiring.
Disconnect the G-wire from the G-terminal and connect it to the C-terminal on your thermostat and HVAC system.
Turn the power back on and test your thermostat.
Remember that repurposing the G-wire will disable manual control of your HVAC system’s fan.
Nest Thermostat’s Battery Issues
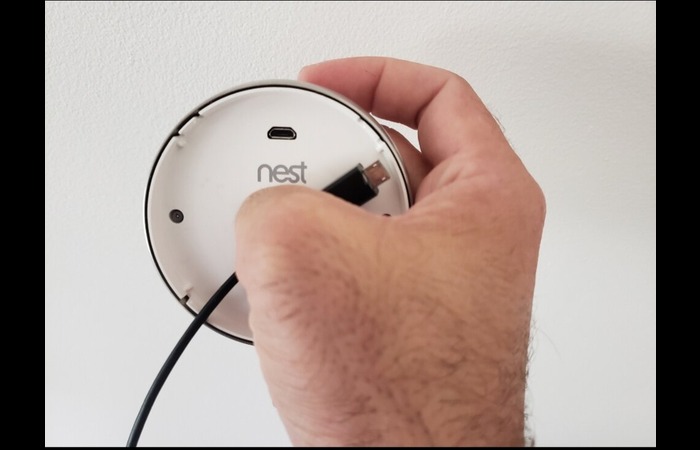
Low battery levels can also cause nest thermostat delays. To check your thermostat’s battery level, open the Nest app or look at the thermostat’s display. If the battery is low, you can charge the battery using a USB cable connected to a power source.
To prevent future battery issues, consider connecting a C-wire to provide continuous power to your thermostat.
Nest Thermostat Learning Period
If you recently installed a Nest thermostat, you may still learn your home’s heating and cooling patterns. This learning period can cause temporary delays as the thermostat adjusts to your preferences. Give your thermostat a few days to complete its learning process before expecting optimal performance.
Software Updates
Outdated software can cause delays and other issues with your Nest thermostat. To check for updates, open the Nest app, and go to your thermostat’s settings. If an update is available, follow the prompts to install it.

HVAC System Delays
Your HVAC system may have built-in delays to protect its components from damage. These delays can cause your Nest thermostat to display a “Delayed” message. If you suspect your HVAC system is causing the delays, consult your system’s manual or contact a professional HVAC technician for assistance.
Protecting Your AC Compressor
Your Nest thermostat may display a “Delayed” message to protect your air conditioner’s compressor. Compressors require a few minutes of downtime between cycles to prevent damage from rapid cycling. This delay is a built-in safety feature and is normal. If you continue to experience frequent delays, consult an HVAC professional to ensure your compressor is functioning correctly.
Location of the Thermostat or Temperature Sensor
The location of your Nest thermostat or temperature sensor can affect its performance. If your thermostat is installed in a warm or cool spot, it may cause delays as it tries to maintain your desired temperature. To resolve this issue, consider relocating your thermostat or temperature sensor to a more central location.
Solutions to Fix Nest Thermostat Delays
If you have tried the above solutions and are still experiencing delays with your Nest thermostat, consider the following steps:
Reset your Nest thermostat to its factory settings and reconfigure it. This can resolve any software glitches causing delays.
Inspect your HVAC system’s wiring for any loose or damaged connections. Repair or replace any damaged wires as needed.
Check your thermostat’s settings for any conflicts or incorrect configurations that could be causing the delays. Adjust the settings as needed.
When to Contact Nest Customer Support
If you have tried all the above solutions and are still experiencing delays with your Nest thermostat, it may be time to contact Nest customer support. They can help diagnose any underlying issues and provide further assistance.

