SSL certificates are used to establish a secure connection between a web server and a web browser. However, sometimes users may encounter an error message stating “self signed certificate in certificate chain” when trying to verify an SSL certificate. This error message indicates that the SSL certificate was not issued by a trusted authority and is therefore considered untrusted. In this comprehensive guide, we will explore the various causes of this error and provide solutions to fix it.
Understanding the SSL Certificate Problem
An SSL certificate is a digital certificate that is used to establish a secure connection between a web server and a web browser. It is issued by a trusted authority, known as a Certificate Authority (CA). When a web browser connects to a web server that has an SSL certificate installed, it checks the validity of the certificate by verifying it with the issuing CA. If the SSL certificate is valid, the web browser establishes a secure connection with the web server.
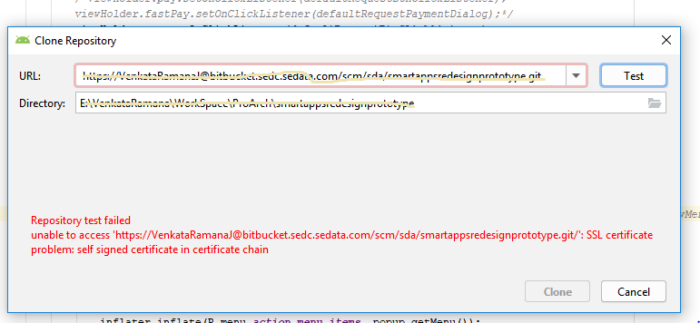
However, sometimes users may encounter an error message stating “self signed certificate in certificate chain” when trying to verify an SSL certificate. This error message indicates that the SSL certificate was not issued by a trusted authority and is therefore considered untrusted. This can happen if the SSL certificate was self-signed or issued by an unknown or untrusted CA.
Causes of the SSL Certificate Problem
There are several causes of the SSL certificate problem. Some of the common causes are listed below:
- Self-signed SSL Certificate: Self-signed SSL certificates are not issued by a trusted authority and are considered untrusted by web browsers.
- Unknown or Untrusted CA: If the SSL certificate is issued by an unknown or untrusted CA, the web browser will not trust the SSL certificate.
- Custom Self-signed Certificates: Sometimes employers install custom self-signed certificates into web browsers but not the operating system’s certificate store. This can cause issues with verifying SSL certificates.
- Incorrect Certificate Chain: If the SSL certificate chain is incorrect or incomplete, the web browser will not trust the SSL certificate.
- Expired SSL Certificate: If the SSL certificate has expired, the web browser will not trust the SSL certificate.
Fixing the SSL Certificate Problem
In this section, we will discuss various solutions to fix the SSL certificate problem.
Workaround – (It is not recommended)
One possible solution is to disable SSL verification entirely. However, this is not recommended as it can leave your computer vulnerable to security threats. To disable SSL verification, you can use the following command:
arduino
Copy code
{git config –global http.sslverify false}
Configuring Git to Trust This Certificate
If you are using Git and encountering the SSL certificate problem\, you can configure Git to trust the certificate by following these steps:
Open Git Bash and type the following command:
arduino
Copy code
{git config –system http.sslcainfo “C:\Program Files\Git\mingw64\ssl\certs\ca-bundle.crt”}
Note: The location of the ca-bundle.crt file may vary depending on your system.
Run the following command to clone the repository:
bash
Copy code
{git clone https://github.com/username/repo.git}
Fixing in the Config File (Recommended)
Another solution is to fix the SSL certificate problem in the config file. Here are the steps:
Open the Git config file in a text editor. The default location for this file is:
makefile
Copy code
C:\Program Files\Git\mingw64\etc\gitconfig
Add the following lines to the config file:
csharp
Copy code
[http] sslVerify = false
Save the changes and exit the text editor.
Firefox: To Get Self Signed Certificate
If you are using Firefox and encountering the SSL certificate problem, you can follow these steps:
- Click on the “Advanced” button on the error page.
- Click on “Add Exception” in the “This Connection is Untrusted” window.
- Click on “Get Certificate”.
- Click on “View”.
- Click on “Details”.
- Click on “Export”.
- Save the certificate file to a location on your computer.
- Open the Firefox Options menu and click on “Privacy & Security”.
- Scroll down to the “Certificates” section and click on “View Certificates”.
- Click on “Import” and select the certificate file you saved earlier.
- Click on “Open” and follow the prompts to import the certificate.
- Checking if the Site Connection is Secure
To check if the site connection is secure, follow these steps:
- Visit the website in question.
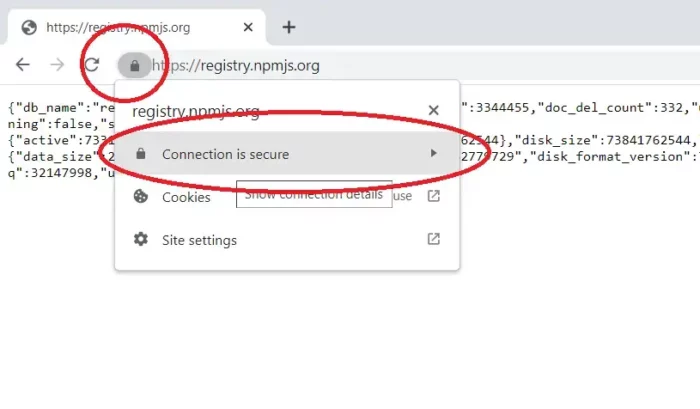
- Look for the lock icon in the address bar.
- Click on the lock icon and select “Certificate” from the drop-down menu.
- Check that the certificate is valid and issued by a trusted CA.
To Permanently Accept a Specific Certificate
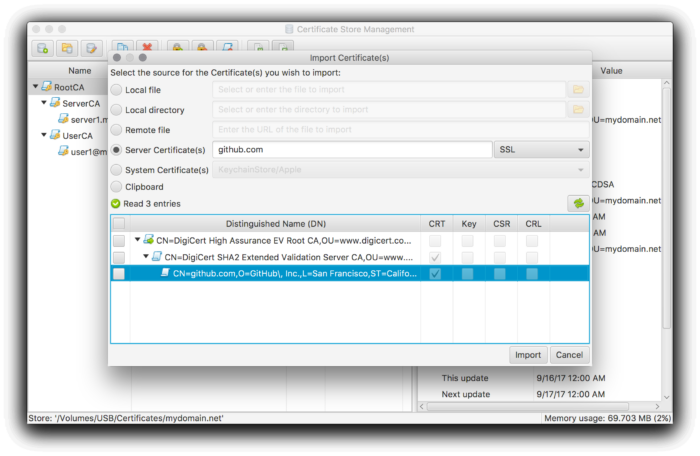
Import Certificate
If you want to permanently accept a specific certificate, follow these steps:
- Visit the website in question. Click on the lock icon in the address bar and select “Certificate” from the drop-down menu.
- Click on the “Details” tab.
- Click on “Export”.
- Save the certificate file to a location on your computer.
- Open the Firefox Options menu and click on “Privacy & Security”.
- Scroll down to the “Certificates” section and click on “View Certificates”.
- Click on “Import” and select the certificate file you saved earlier.
- Click on “Open” and follow the prompts to import the certificate.
Configure Git to Trust the Certificate
If you are encountering the SSL certificate problem while using Git, you can configure Git to trust the certificate by following these steps:
- Obtain the certificate file.
- Open Git Bash and type the following command:
css
Copy code
{git config –global http.sslCAInfo /path/to/certificate.pem}
Note: Replace /path/to/certificate.pem with the location and name of the certificate file.
Using a Red Hat Product Through a Public Cloud?
If you are using a Red Hat product through a public cloud and encountering the SSL certificate problem, you can follow these steps:
- Obtain the certificate file.
- Use the following command to add the certificate to the trusted store:
bash
Copy code
{sudo update-ca-trust force-enable}
{sudo cp /path/to/certificate.crt /etc/pki/ca-trust/source/anchors/}
{sudo update-ca-trust extract}
Note: Replace /path/to/certificate.crt with the location and name of the certificate file.
To Disable SSL Verification for All Repositories
If you want to disable SSL verification for all repositories, you can use the following command:
arduino
Copy code
{git config –global http.sslverify false}
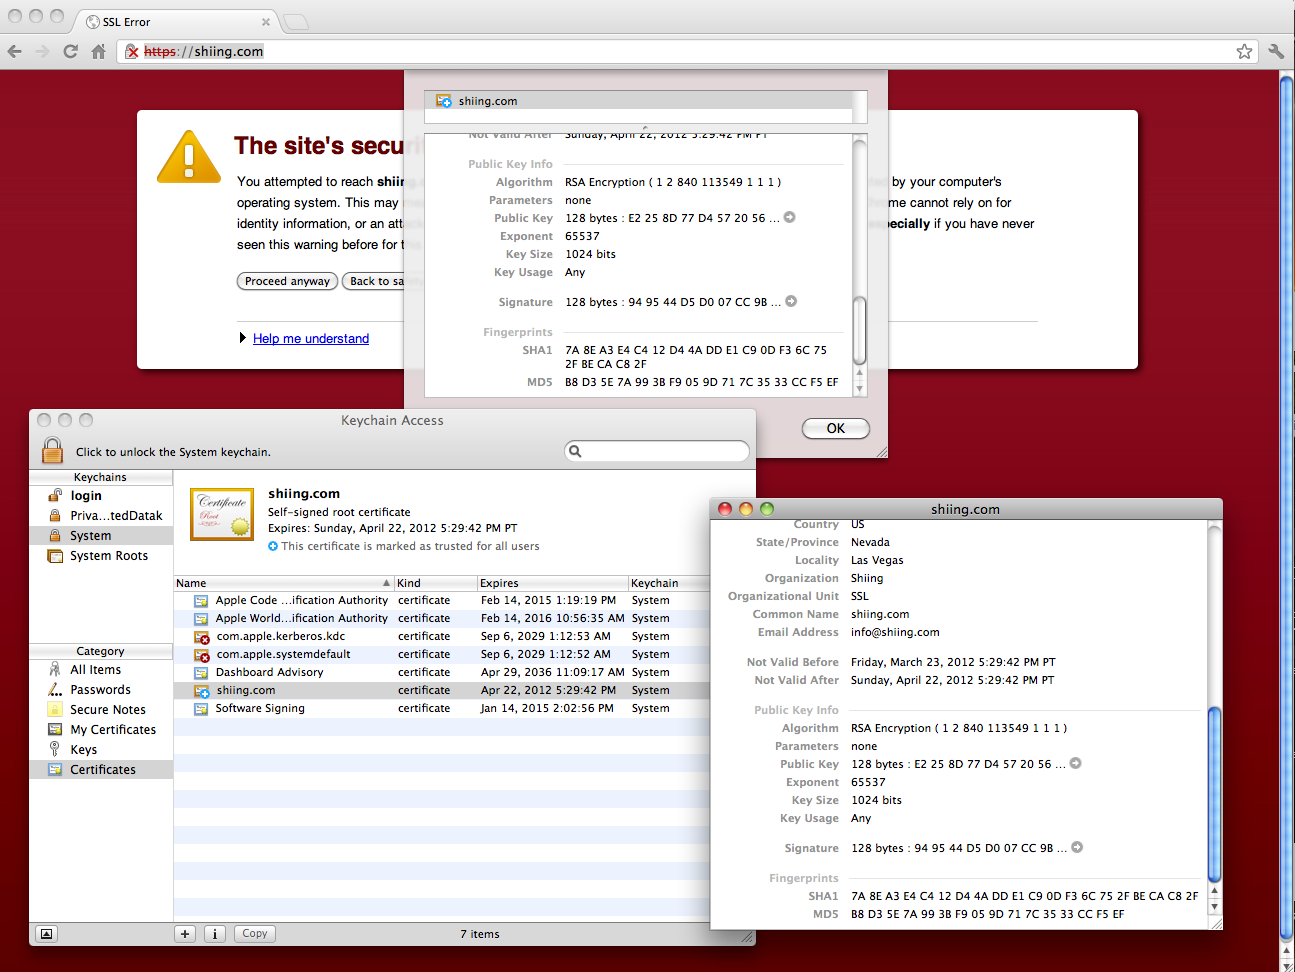
Getting macOS to Trust Self-Signed SSL Certificates
If you are using macOS and encountering the SSL certificate problem, you can follow these steps:
- Obtain the certificate file.
- Double-click on the certificate file to add it to your Keychain.
- Open Keychain Access.
- Select the “Certificates” category.
- Locate the certificate you just added and double-click on it.
- Expand the “Trust” section.
- Change the “When using this certificate” option to “Always Trust”.
- Close the window and enter your password to save the changes.
http.c:http.sslcert and http.sslkey are Both Pathnames
If you are encountering the SSL certificate problem while using cURL, you can follow these steps:
- Obtain the certificate file.
- Use the following command to specify the certificate file and key file:
css
Copy code
{curl –cacert /path/to/certificate.crt –cert /path/to/cert.pem –key /path/to/key.pem https://example.com/}
Note: Replace /path/to/certificate.crt, /path/to/cert.pem, and /path/to/key.pem with the location and names of the certificate file and key file.
Getting Windows 10 to Trust Self-Signed SSL Certificates
If you are using Windows 10 and encountering the SSL certificate problem, you can follow these steps:
- Obtain the certificate file.
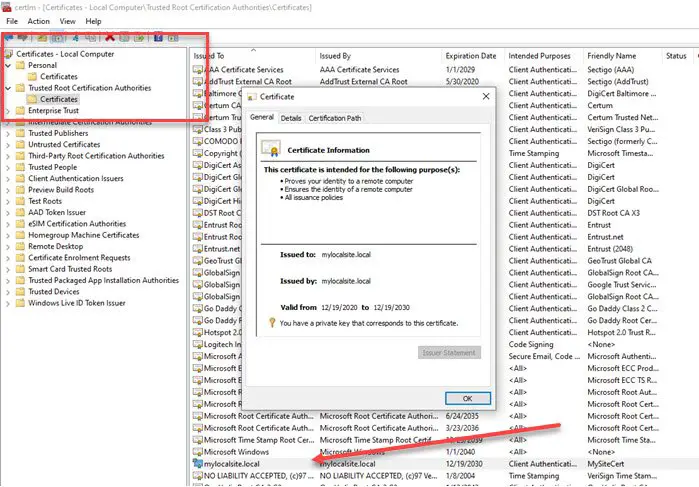
- Double-click on the certificate file to open the Certificate dialog box.
- Click on “Install Certificate”.
- Select “Local Machine” and click on “Next”.
- Select “Place all certificates in the following store” and click on “Browse”.
- Select “Trusted Root Certification Authorities” and click on “OK”.
- Click on “Next” and then click on ” Finish” to install the certificate.
- Restart your computer.
To Disable TLS/SSL Verification for a Single Git Command
If you want to disable TLS/SSL verification for a single Git command, you can use the following command:
bash
Copy code
{GIT_SSL_NO_VERIFY=true git clone https://example.com/repo.git}
Note: Replace https://example.com/repo.git with the URL of the repository you want to clone.
npm ERR! Error: SSL Error: self_signed_cert_in_chain
If you are encountering the SSL certificate problem while using npm, you can follow these steps:
- Use the following command to bypass SSL verification:
arduino
Copy code
{npm config set strict-ssl false}
- Run your npm command again.
pip Install Connection Error: [SSL: CERTIFICATE_VERIFY_FAILED] Certificate Verify Failed
If you are encountering the SSL certificate problem while using pip, you can follow these steps:
- Obtain the certificate file.
- Use the following command to specify the certificate file:
css
Copy code
{pip install –cert /path/to/certificate.pem package-name}
Note: Replace /path/to/certificate.pem with the location and name of the certificate file and package-name with the name of the package you want to install.
PHP – SSL Certificate Problem: Unable to Get Local Issuer Certificate
If you are encountering the SSL certificate problem: unable to get a local issuer certificate while using PHP, you can follow these steps:
- Obtain the certificate file.
- Use the following code to specify the certificate file:
php
Copy code
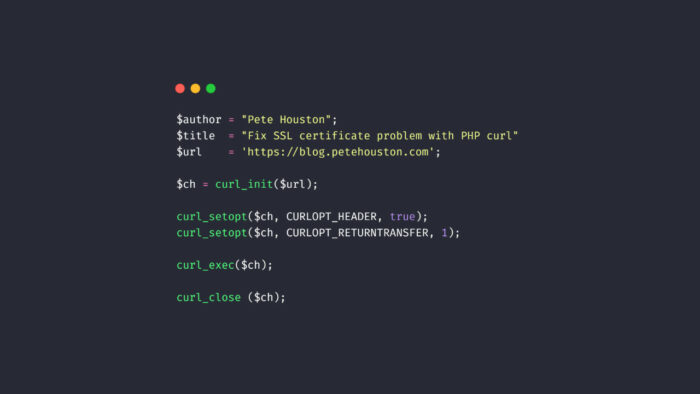
{curl_setopt($ch, CURLOPT_CAINFO, ‘/path/to/certificate.pem’);}
Note: Replace /path/to/certificate.pem with the location and name of the certificate file.
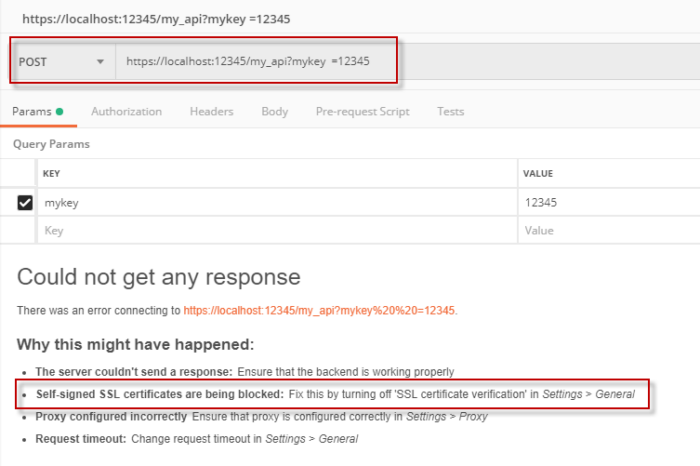
Postman Error: Self Signed Certificate in Certificate Chain | Unable to Get Local Issuer Certificate Error
If you are encountering the SSL certificate problem: self signed certificate in certificate chain | unable to get local issuer certificate error while using Postman, you can follow these steps:
- Obtain the certificate file.
- Open the Postman console by pressing Ctrl + Alt + C.
- Use the following command to disable SSL verification:
arduino
Copy code
{process.env.NODE_TLS_REJECT_UNAUTHORIZED = “0”}
- Run your request again.
Using git_ssl_cainfo to Accept Certificate Permanently
If you want to accept the certificate permanently while using git_ssl_cainfo, you can follow these steps:
- Use the following command to add the certificate to the trusted store:
css
Copy code
{git config –system http.sslCAInfo /path/to/certificate.pem}
Note: Replace /path/to/certificate.pem with the location and name of the certificate file.
Use the following command to set the verification to “false”:
arduino
Copy code
{git config –system http.sslVerify false}
Conclusion
The SSL certificate problem can be a frustrating error to encounter, especially if you are not familiar with SSL certificates and their validation process. However, by following the solutions mentioned in this article, you can resolve this error and ensure that your SSL connections are secure.
Remember to always use SSL certificates signed by trusted certificate authorities, and avoid using self-signed certificates or certificates signed by untrusted certificate authorities. By doing so, you can prevent the SSL certificate problem from occurring in the future.
We hope that this article has been helpful in resolving your SSL certificate problem. If you have any further questions or feedback, please feel free to leave a comment below.
FAQs
What is the SSL certificate problem: self signed certificate in certificate chain?
The SSL certificate problem: self signed certificate in certificate chain is an error message that indicates that the SSL certificate of the website is not trusted because it was signed by a self-signed certificate authority.
Why does the SSL certificate problem: self signed certificate in certificate chain occur?
The SSL certificate problem: self signed certificate in certificate chain occurs when the SSL certificate of a website is not signed by a trusted certificate authority. This can happen when a website uses a self-signed certificate or a certificate signed by an untrusted certificate authority.
How can I fix the SSL certificate problem: self signed certificate in certificate chain?
To fix the SSL certificate problem : self signed certificate in certificate chain, you can follow the steps mentioned in this article. The solution depends on the scenario you are encountering the error in. You can use the table of contents to jump to the scenario you are experiencing the problem in.
How can I prevent the SSL certificate problem: self signed certificate in certificate chain from occurring in the future?
You can prevent the SSL certificate problem: self signed certificate in certificate chain from occurring in the future by using SSL certificates signed by trusted certificate authorities. You should avoid using self-signed certificates or certificates signed by untrusted certificate authorities.

